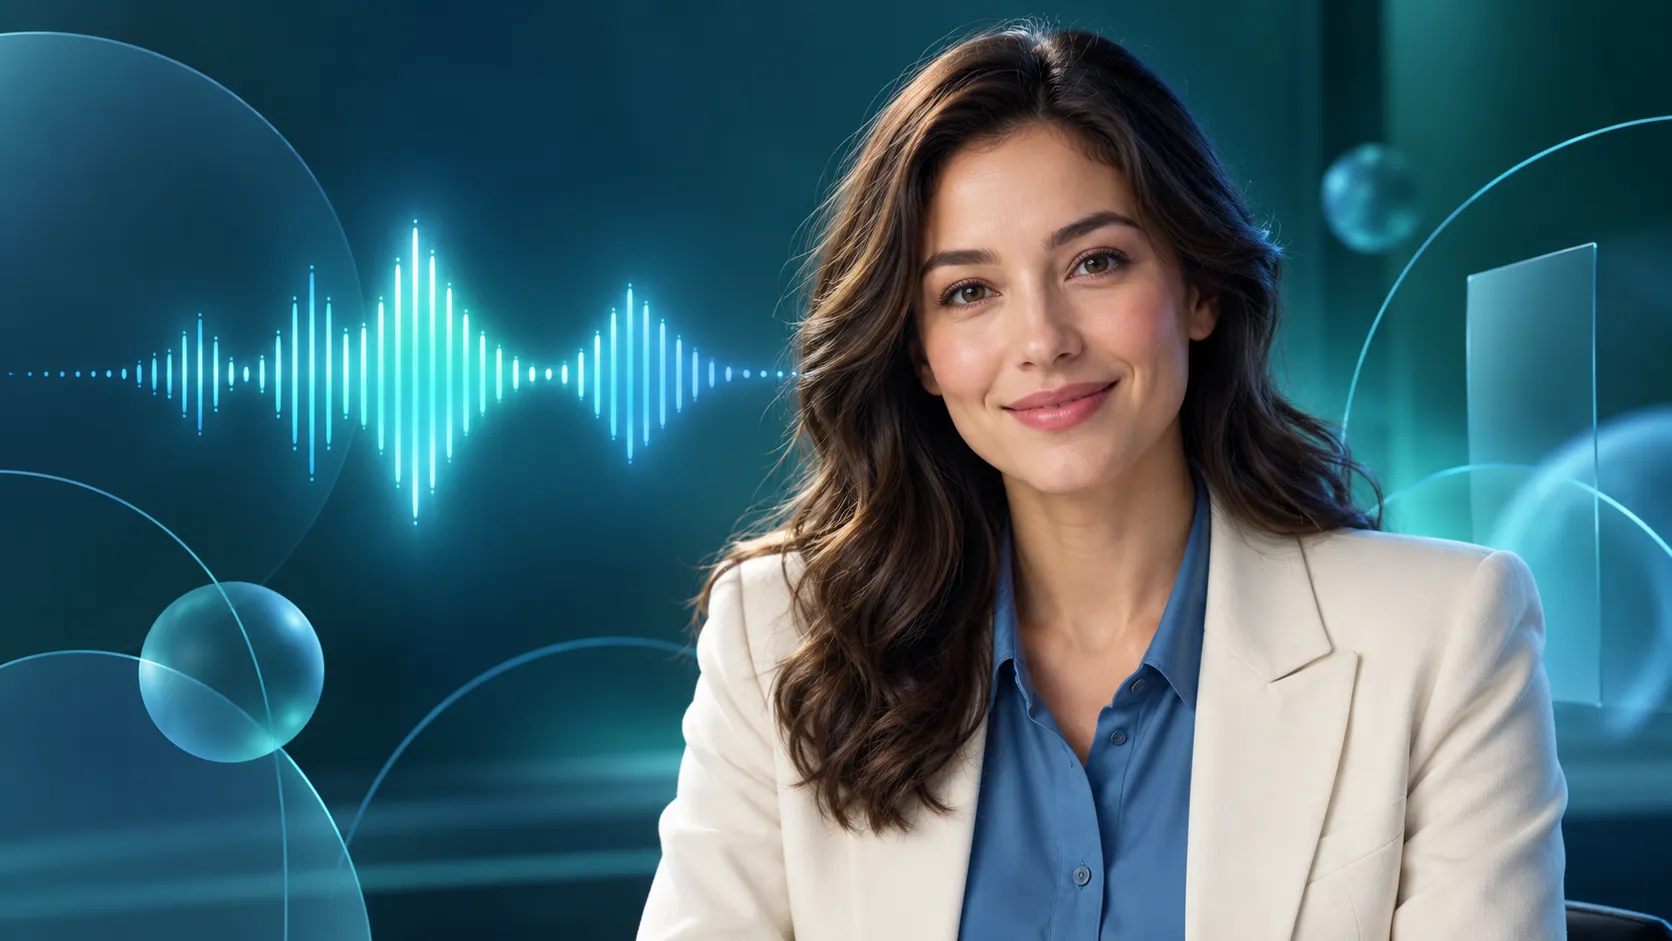
A talking avatar turns a portrait into a video in which the character delivers a prepared line. In Hedra, you can work with an image and speech: upload audio or generate a voiceover from text using an available voice. This format suits a short explanation, a welcome message, or a line from a fictional presenter. A convincing result depends on the script, audio quality, and restrained animation, as well as a realistic face.
What to Look for in the Source Portrait
For your first avatar, use your own photo if you are an adult, a portrait used with the subject’s permission, or a fictional character. Choose a well-lit, front-facing image in which the eyes and mouth are visible. A medium shot or close-up helps keep the focus on the speech. If the frame contains many small details, viewers are more likely to notice changes in a clothing pattern or an object in the background.
Remove unnecessary captions from the source image and avoid hands covering the face. For a calm explanatory video, a neutral expression works better than a fixed broad smile. Leave some space around the head for cropping and small movements. If you need a brand mascot, approve its static appearance first and use the same source image in related videos.
How to Write a Script That Is Easy to Read Aloud
Start with one purpose for each video. For example, a virtual presenter might explain how to prepare a photo for animation. Instead of a long introduction, the presenter could say: “Choose a clear portrait. The face should be well lit, and nothing should obscure the mouth. Make a short test first, then put together the full video.” This is a ready-to-use, neutral script for a test voiceover.
Read the script aloud before generating anything. Break up long sentences, spell out ambiguous abbreviations, and check how names are pronounced. It is best to keep one idea in each sentence. If the character should pause, build that pause into the audio rather than hoping the model will guess your editing intentions. When translating into another language, adapt the script and voiceover first, then create the corresponding video.
How to Prepare the Voice and Create an Avatar in Hedra
Upload the prepared portrait and add speech in the Hedra workflow available to you. The official description includes text with a choice of voice, in-app recording, and uploading existing audio. If you already have your own recording, listen to it separately: check for background conversations, clicks, clipping, and sudden changes in volume. Clean speech makes lip synchronization easier to assess.
Choose a model designed for audio-driven animation. For example, Hedra Avatar accepts a portrait and an audio track, and the output duration is tied to the length of the audio. Do not apply one model’s limits to every tool on the platform: check available formats, duration, and costs in the workflow you have selected. A short, complete line is enough for the first test, even if the service allows longer videos.
If the chosen model’s interface offers a behavior description, add a restrained direction: “The character speaks calmly to the camera, occasionally smiles gently, and makes small, natural head movements; the camera stays still.” This describes the delivery style. The actual words must be in the speech track or voiceover field, rather than only in the gesture description. Then start generation and wait for the preview to be ready.
How to Check Speech, Expressions, and Gestures
Watch the entire video without getting distracted by individual attractive frames. Check whether the mouth lags behind the start of a phrase, whether the face stays consistent during turns, and whether active articulation continues during silence. Then pause the video during a smile or a noticeable head movement: these are useful moments for spotting distortions in the teeth, eyes, or facial outline. Separately check that the end of the spoken line is not cut off.
If the delivery looks too animated, simplify the behavior description to a calm gaze and minimal movement. If the speech is unnaturally fast, adjust the pace of the source audio and generate the video again. If a word is pronounced incorrectly, edit the voiceover; regenerating the visuals will not fix a mistake already recorded in the audio. Change one parameter at a time so you can tell which step actually helps.
For a longer explanation, it is helpful to divide the material into logical sections in advance. Test one section first, then prepare the others in the same style. During editing, you can alternate the avatar with illustrations and on-screen examples so that the face does not have to remain on screen throughout. Check subtitles against the final audio: they help viewers follow the content, but they should not cover the mouth or make it harder to assess articulation.
How to Use a Talking Avatar Responsibly
Before exporting, check your account’s current terms, the cost of the chosen model, and commercial-use rights. Access to a voiceover tool does not give you permission to copy someone else’s voice. For a safe first project, use your own voice, a service-provided voice under its permitted terms, or a wholly fictional presenter. Do not put statements into a real person’s mouth that they never made.
When publishing, make clear that the presenter was created or animated using AI, especially if viewers could mistake the video for a real recording. Do not present the avatar as a genuine customer testimonial or evidence of personal experience. Save the original script, audio, and portrait so you can revise a line later without losing the context. Judge the finished video by the clarity of its message: the character is recognizable, the speech is easy to understand, and the movements help people listen rather than distract them.